28 Jan 2023

My Challenge to Make a Marble Run Machine - Rotating Plate

I feel keenly that making something from zero isn't easy on making a
marble run machine.

I made a plate to catch the balls yesterday. It is shaped like a funnel, with a hole in the middle of the bottom. The ball catches by the plate, goes into the hole and gets on a rail to lead to the start point again. This type of part is commonly used for a marble run machine.

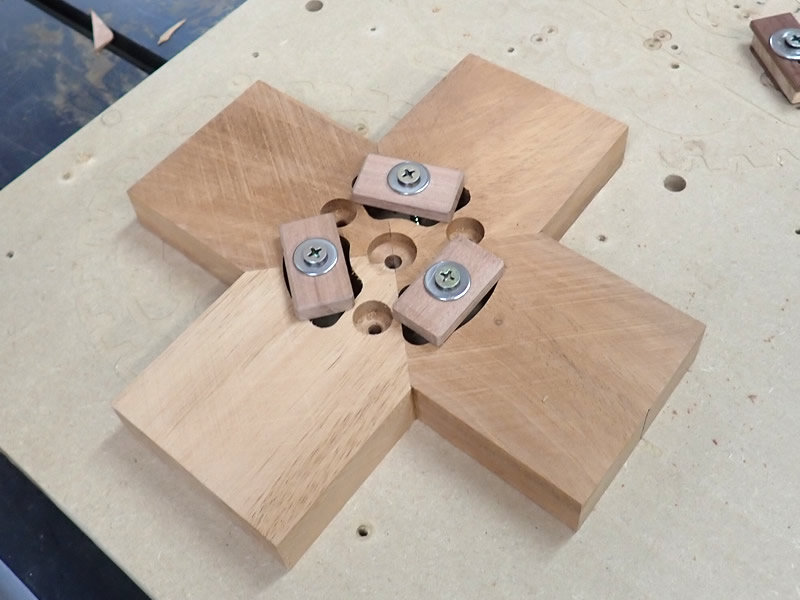
Here is the rotating plate. This ant hell-like cavity is the same shape as a triangular pyramid. This time, I used the extension data, "STL", for the first time. STL is commonly used for 3D printing. I didn't know how to do it, so my husband exported the data.


Then, he gave me an idea. Firstly, run the CNC with the mode of the waterline. After cutting with the waterline mode, many fibres appeared and looked like a hairy doormat.
There are annual rings and fibres in timber. Depending on the direction, fibres that couldn't be cut remain. The fibres are durable, and getting rid of them is tough.

He gave me the second idea. Run the CNC router vertically, and after that, run the machine horizontally. It worked very well. All the stood-up fibres have gone.


Making the rotating plate took two days. I didn't think it needed so much time. How long would it need to complete it?


23 Jan 2023

My Challenge to Make a Marble Run Machine - Completed the Ball-Lifting Function at Last

I found a failure on my marble run machine and struggled with the design. The angle of the entrance for the balls is very subtle.

If I made the wrong-angled entrance, the balls don't move to the next gear. After some days' struggling, I somehow managed to make it.


It works well, but the function doesn't work so good if I rotate the handle fast. However, I didn't think people would play the marble run machine so quickly. Things have a way of the best moving that is suited. Most people know that and don't rotate the handle very fast.
In this sense, children who don't know how to make allowances should be careful. That is why almost all automata creators display their creations in glass boxes connected to a motor to avoid using a handle.


I played with the machine a lot of time last night. I was happy to see the machine was working. Then, there was one issue that occurred.

I was planning to rotate the machine, both the handle and the motor. Therefore, I bought a pulley belt last week that was delivered yesterday. The part that set up the belt has been prepared already. I hooked the belt to the part to see how it was. I found that I bought a too thin belt. It wasn't strong enough to rotate the machine. I made a mistake again. Well, never mind.

The next step I will do is make the rail at the starting point at the bottom of the machine. The balls on the rail roll into a hole in the gears, carrying them up to the top of the machine. Firstly, I will make a simplified rail and see how it goes.


After all the work that had been done so far, I felt relieved a little bit.
It will still take a long time to complete, but creating the ball-lifting function was really hard work. Hopefully, the work ahead will be easier than before.


19 Jan 2023

My Challenge to Make a Marble Run Machine - Failure

I've been making a marble run machine filled with spirit. Contrary to expectations, the machine in production worked well. Yes, unfortunately, it's past tense.

While rotating the machine's handle in a chipper mood, I found a malfunction. What!? It was supposed to work well. What has happened?
 

My husband and I were both surprised and scrutinized the movement. We guessed the reason for failure. For the time being, we tried to fix it but couldn't fix it completely.
It worked well when I rotated the handle slowly, but once I rotated faster, some of the balls on the machine started falling. It still worked, yet I wouldn't say I liked it. Therefore, I decided to make another part again.

One of the thick boards that was supposed to be a pot mat turned into a gear, and then, after finding the failure, it went back to a pot mat again. I still have some thick boards, so I'm going to use them to make a replacement part.

It's going to be a long way to go.

13 Jan 2023

My Challenge to Make a Marble Run Machine - The Bridging Rail

I finished making one of the components I want to make and tried it out immediately yesterday. It is a rail between the big gear and the chain.
 
A ball that is carried from the bottom gear, the middle gear, to the top gear drops onto this rail and rolls to the chain. Then, the ball is picked up by a magnet on the chain.
Having made this rail, the two lifting systems, three gears, and the chain are complete. It was really a huge accomplishment.
The next step would be making a gear with a handle. This gear will be the power source. I am going to make it as it can be used with a motor as well. It is no problem when I play with the marble run machine. However, if someone visits me and rotates the handle too fast, the machine might get broken. Therefore, arranging an alternative use, the handle and the motor is essential.


The machine has only the lifting system now, yet it can be played with. I pop several stainless balls into the lower gear and rotate it. It is fun to watch the balls moving up and high. I am happy even though I haven't finished it yet.

4 Jan 2023

My Challenge to Make a Marble Run Machine - The Lifting Functions

I made big progress on the marble run machine project today. Having said that, it doesn't mean I have finished making it. I assembled several gears for lifting balls.

The mechanism for lifting balls consists of three gears.


The gears were big, so I used ball bearings to make them rotate smoothly. This was the first time I used ball bearings.

As shown in the picture below, these three giant gears mesh with each other, and they can lift balls. 

I struggled a lot with designing these gears. I had done many operation confirmations, and I made false ones several times. While rotating gears, balls in the cavity of the gears easily drop. Therefore, I had to think it out. 


I knew the easiest way was to make gears tilt and make a guard preventing dropping balls. However, I have often seen this type of marble run machine, so I wanted to create something different and create this function.

Anyway, I somehow finished making the lifting system. The timber that was going to be pot mats has now changed to gears. I lost the opportunity to get new pot mats, instead, I got three thick beautiful gears, so I am happy with the result.


I attached a board to the living room wall for the marble run machine with my husband's help. The board is Aucoumea klaineana, its size was 600 mm x 1200 mm (23.6 in x 47.2 in)

After attaching the board, these gears and chains were attached to the board. There were not yet rails for balls, but the ball-lifting function was finally finished. It was a long way to reach this step.


The next step is designing a gear with a handle that will be a power source and rails. I have already got some ideas about how to run balls. I love thinking about these kinds of things. I want to start designing as soon as possible, but I have got some jobs to get done. I will begin making the marble run machine after I finish the job.

I will update you when I make any progress on this blog.
See you then.


2 Jan 2023

My Challenge to Make a Marble Run Machine - Making A Big Gear 3

It was New Year's day yesterday. Lots of people may have a relaxing day with treats. 


 Me? I had a wonderful day in a different way to other people. I made a little step forward to a marble run machine. I cut some gears using the CNC router. The gears looked perfect, and I was almost ready for the lifting ball systems.


I bought a large board long ago to attach those parts. My husband recommended me to attach the board to the wall with screws. As you guessed, the marble run machine will be like a picture of the wall. An idea that was going to be an ordinary marble run machine like a size that can be placed on a table in the beginning, is getting to be large-scale.

If my parents were alive, they might say, "Hey, don't screw such a strange object onto the wall." However, there is no one who will stop our plan now.
All I have to do now is screw the board on the wall. The board I bought is heavy, and I do not think I can do that, so my husband graciously accepted.

If he finishes screwing the board, I am going to attach all the gears and chains onto the board. Then, I have to design the rails. There are many things that I have to do, but it is fun. I want to complete the marble run machine as soon as possible.